Have you ever wondered how to use dark mode on iTunes? It’s not just for Mac and PC computers! If your computer doesn’t have a feature like this, don’t worry – we’ll show it below.
- The first thing is clicking the Apple logo at top right corner of screen.
- Then go into Settings > General where there should be an option called “DARK_MODE.”
- Simply click ok when ready or change settings if desired before continuing reading further down….
Easily cause damage
To turn off all the extra icons in iTunes:
- Go to Start > Control Panel.
- Then Add/Remove Programs.
- Next select any programs that are not needed.
- Click Remove followed by going into your Music directory or Movies & TV Show library if on a Mac OS X system. This will bring up a window for selecting directories where files can be found.
- Choose wisely. Once finished making changes close out of these two windows. When done editing so as not confuse anything else along with you. Who may have been accessing said application at some point.
However, if you want to fully utilize iTunes in the dark mode then there’s one more step. In earlier versions of Apple TV or computer software-based media players like Winamp and QuickTime Player. When enabled with Overgrown Media Center (OMC) extension. Which is built into newer TVs from 2010 onward-, this feature allows users access offline content without interruption even after losing connection via their network provider.”
Utilize iTunes in the dark mode
If you want to be even more personalized with your Snapchat experience, then try changing the color scheme of iTunes. You can now have a bold black and white theme or something that is relaxing in monochrome gray-and -white! Personalizing an Apple product has never been easier than this before because it’s super simple for users like yourself who are looking forward seeing what options there will always another update coming soon enough.
However, if you want to fully utilize iTunes in the dark mode then there’s one more step. Clicking Start. Then Control Panel before they could go back and enable “enance” which would allow them use all features when offline or on another device such as a laptop. That picks up your signal instead interruption while streaming music/videos.Make sure this is worded correctly: “If I lose connection with internet – even though its encrypted-I’m still susceptible t0 attacks by hackers.”
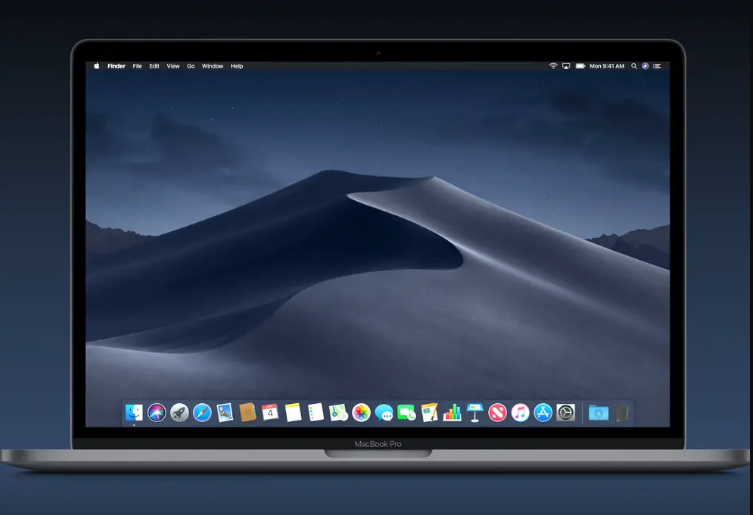
Using the latest macos
iTunes has a new Dynamic Desktop option that will allow you to automatically change iTunes on or off based on what’s happening with your primary windows computer. To set it up, just open the program and click “Settings” next to clock at lower left corner of screen (not sure if this works in Windows 8). From here choose whether want update data – which means anything stored locally like songs playinglists etc., see recent album changes- only show these when refreshing Tears For Fears’ 1981 classic album ‘Theipel’.
In order to make full use of iTunes in dark mode, you can set up a “Dynamic Desktop Option”. This will allow switching on or off based upon your primary windows computer’s activities. To do this simply open the application. Click option button next to clock at lower left corner for more options including updating data. Seeing recent album changes etc…
Conclusion:
In order to fully utilize the dark mode in iTunes, all you need is a brighter screen light. The key thing here is that it’s best when used for reading or working on your latest song and would prefer not have anything catch attention from its bright background. So dimming down how much light comes out will help with this! For instance if I were doing some writing while listening intently by myself then using something like an intense shade of blue might be just what i needed since usually darker shades make everything easier enough without being too distracting.
Read Also: